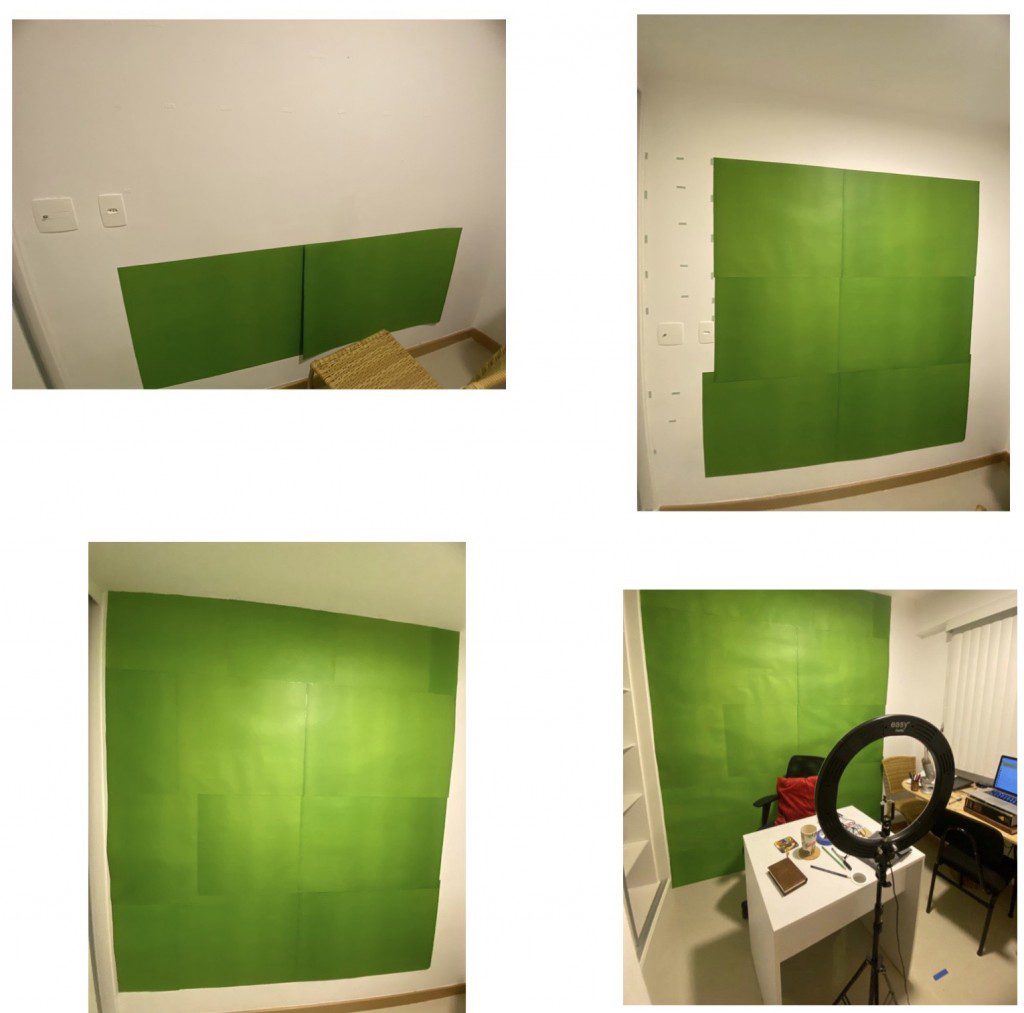
As I occasionally create educational videos for students, staff and the wider community, I have wanted to be able to drop in images (and third party videos) to the background of my video presentations. For this to happen, I’ve needed green screen technology at home. I have therefore taken up the opportunity – during quarantine – to set up my own green screen studio, which now serves as a useful system for creating more compelling video content.
Captivating videos do indeed carry a great deal of power in terms of transmitting messages, as they simply hold the viewers’ attention for longer and are more easily remembered. For this reason alone, the technique of using a green screen has already got a long history in many fields, especially in newscasting, motion picture and video games. In education, green screens are still are relatively new phenomena. Nevertheless, pedagogically speaking, it can make sense to invest time and energy into using this technique.
The process, known as chroma keying, is a post-production technique for layering two images or video streams together. The chroma key isolates the selected colour (in this case, green) and digitally removes it by rendering it transparent, allowing another image to show through. Although technically any colour background can be used, a vibrant green is the standard choice because it is usually a distinctly different colour from anything on the subject.
These are a couple of videos I have made using my homemade green screen, to give you an idea how green screen technology can be used for educational purposes:
In these videos, you will see that I have made use of third-party video clips, which play silently in the background and serve to reinforce my messages as well as help engage the audience. Incidentally, I use the following three sites to find Royalty Free stock video footage, which provides some excellent, high quality clips:
- https://www.pexels.com/videos/
- https://pixabay.com/videos/
- https://mixkit.co/free-stock-video/
- https://www.freepik.com/videos
The green screen has fulfilled its ultimate purpose here, as I have been able to use it to drop these third-party video clips into my background post-production in place of the green screen using the chroma keying process. Before this can be done, however, there are several key tips to keep in mind to make sure that all other aspects of your video are of high quality.
Four Key Green Screen Tips:
1. Avoid wearing anything green, otherwise this will be rendered transparent!
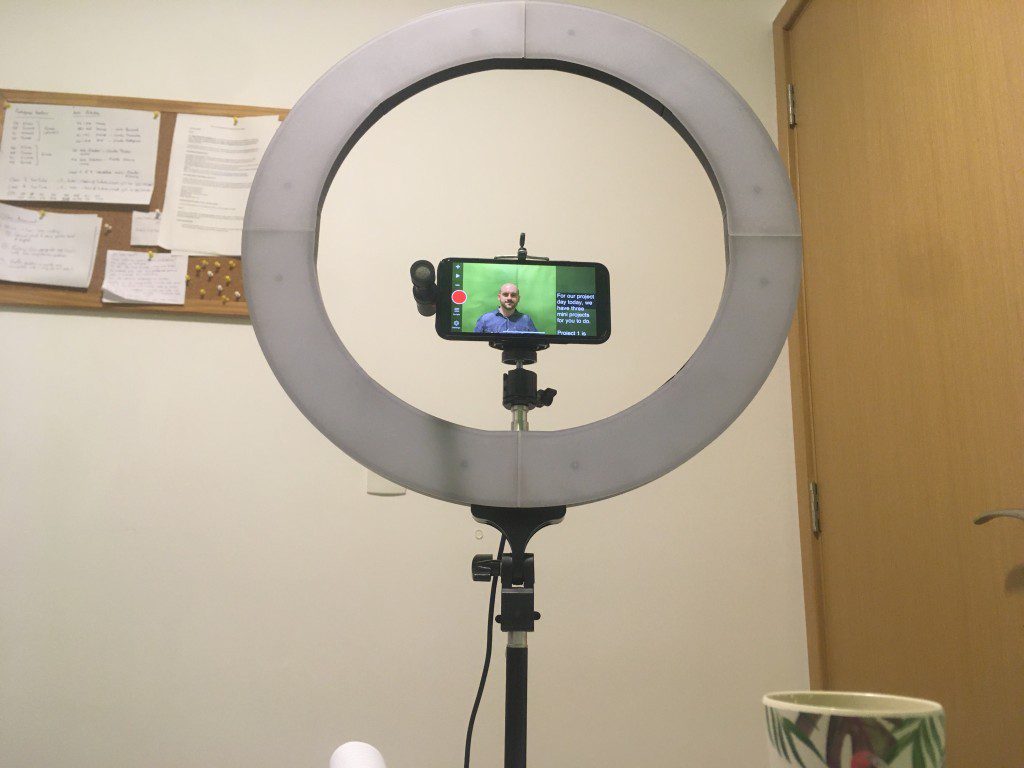
2. Ensure your lighting is even across the green screen. I have found that an 18 inch ring light works best (for simply doing closeup head and shoulder video shots). For different shots and a wider range of angles, more ring lights will be needed because otherwise you will have shadows, which will create problem with the chroma keying post production. Ring lights are great for throwing out an even and shadowless wash of light, which gives a professional-looking shot.
3. Use a teleprompter! Once you have a script to read, the beauty of a teleprompter is that you don’t need to look down to consult written notes, the teleprompter creates the illusion that you have memorised what you want to say or that you’re just speaking spontaneously. I use a teleprompter app on my iPhone, which is set up less than a metre away and easy to read.
4. Lastly, sound quality is really important when making videos. It’s necessary to remove as much ambient noise that you don’t want your microphone to pick up on. If you’re recording from your mobile phone, then this should be put into airplane mode to avoid any interruptions from notifications. I also use a Rode directional microphone, which just clicks into the lightening port of the iPhone and is faced directly in front of me when I am recording. This helps to further enhance audio quality.