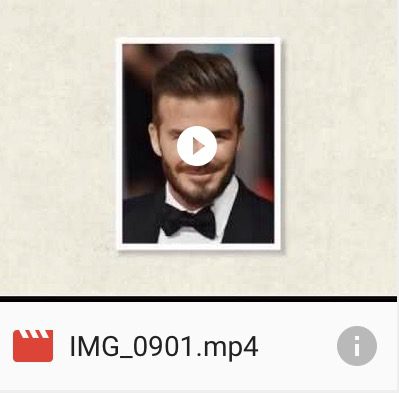
Once a video is made by students, it is important that they can showcase this work and teachers can quickly access it. I have found Google Drive to be an efficient system for collecting, organising and showcasing student videos.
For any videos made on the iPad, we need to make sure that the Google Drive app is installed. Students can then save their videos to the camera roll on the iPad and from there upload directly to Google Drive as follows:
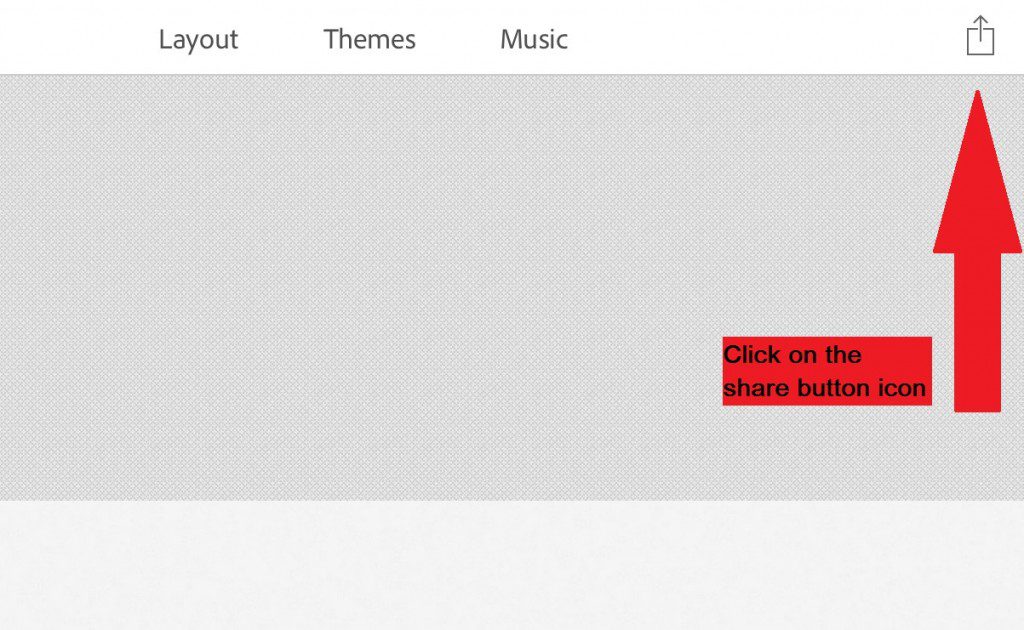
Step 1. Look for and click on the share button icon (in Adobe Voice this is located on the top right hand side of the screen).
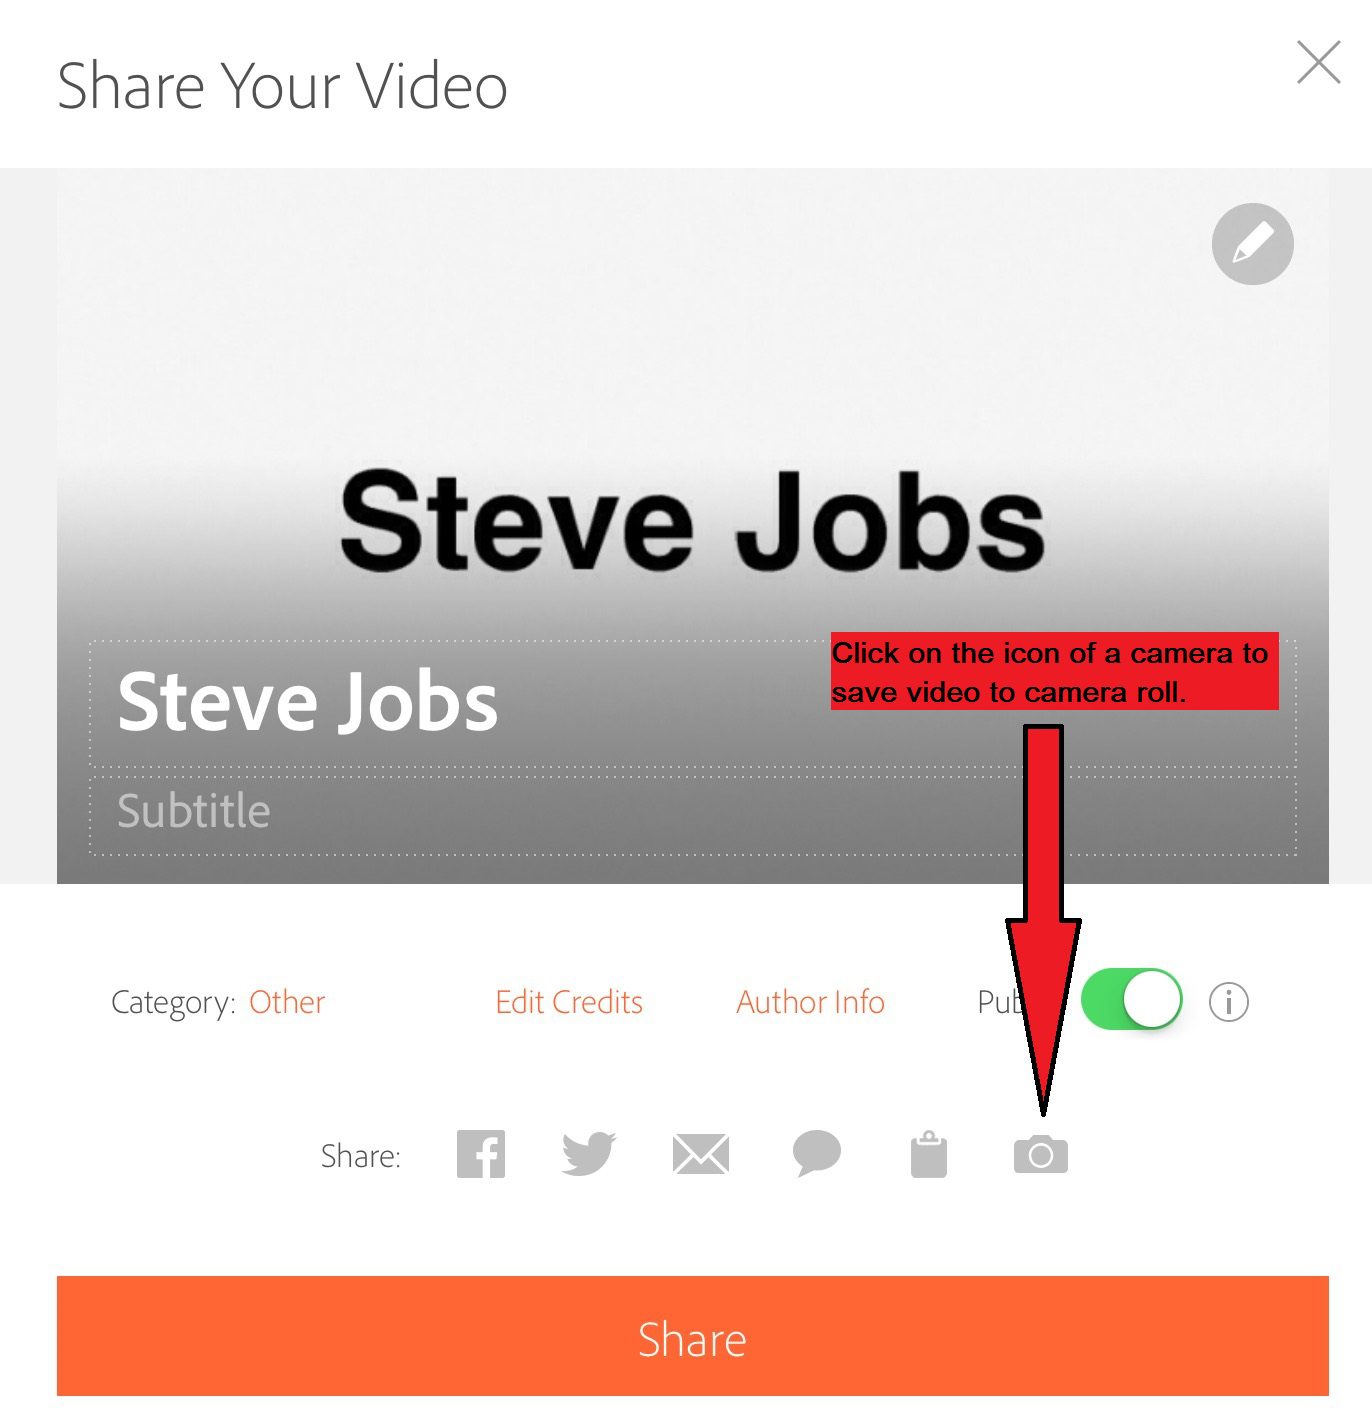
Step 2. Click on the icon of a camera to save the video to the iPad’s camera roll.
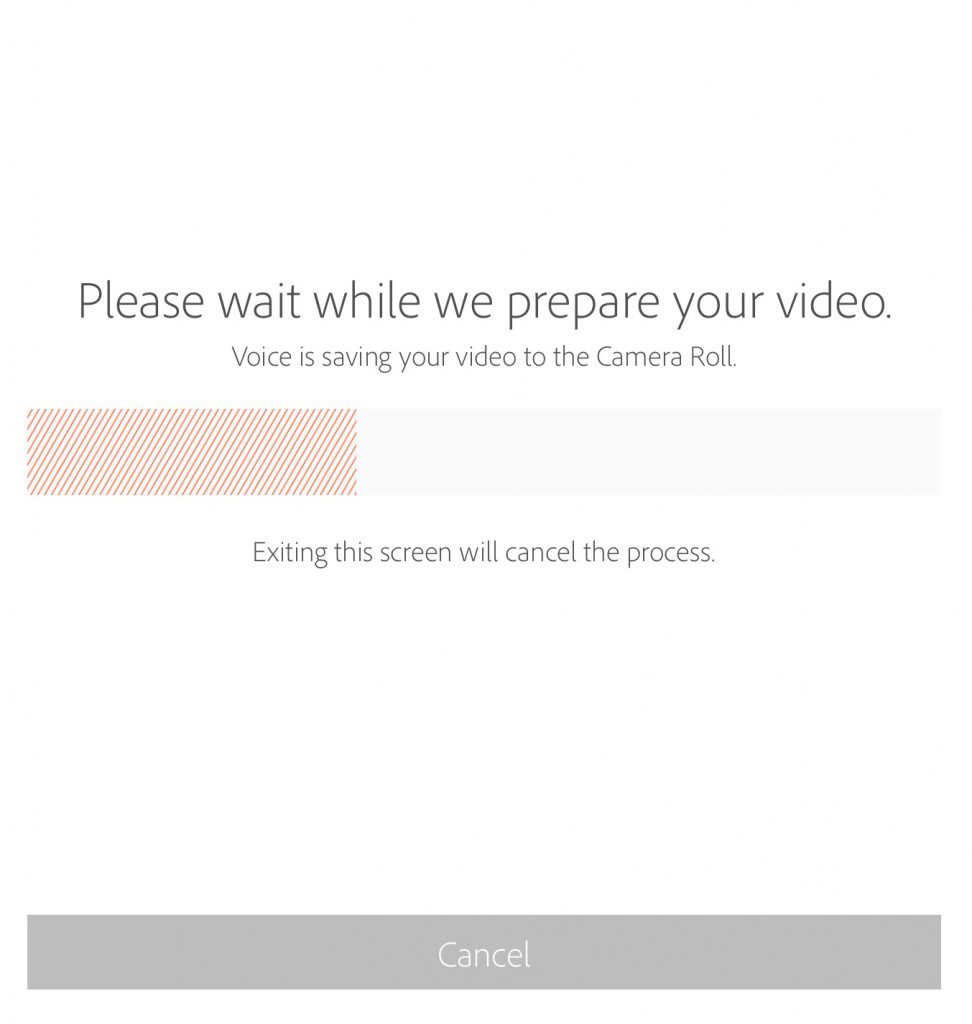
Step 3. Wait a moment while the video saves.
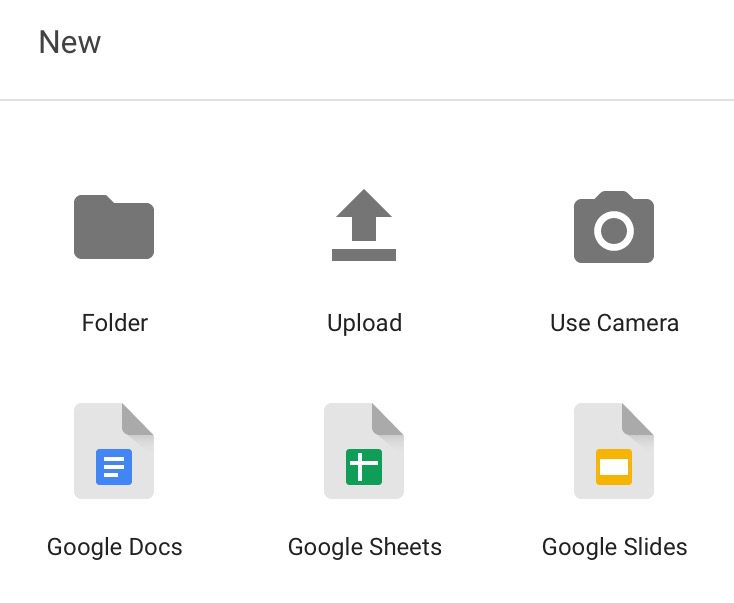
Step 4. Open up the Google Drive app on the iPad. Click on the icon of a plus sign + to create a new file. Then click Upload.
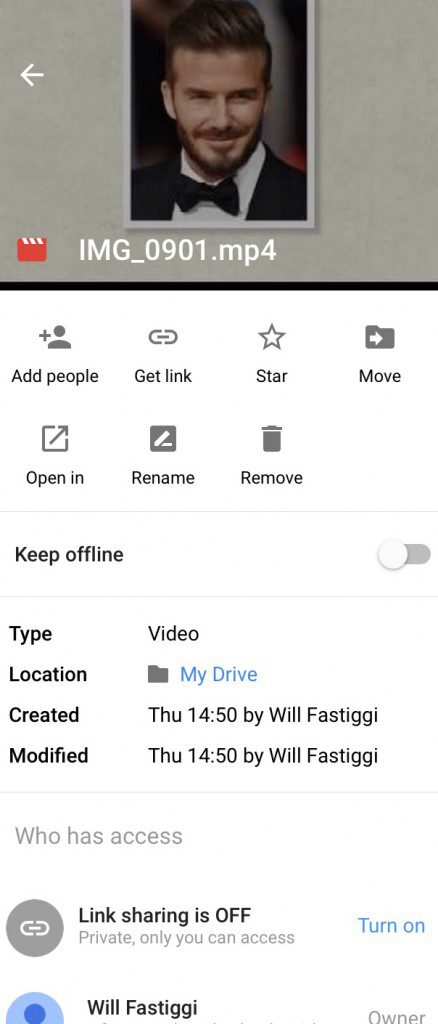
Step 5. Once the video has uploaded, click on the (i) button.
Step 6. Click Add people. Students should also make sure that they click Get Link, so that once embedded into their digital portfolios, the video can be viewed by everyone on the school domain.
Step 7. The student should then type in the teacher’s email address, so that the teacher can access the video. They can then embed the video to the digital portfolio.
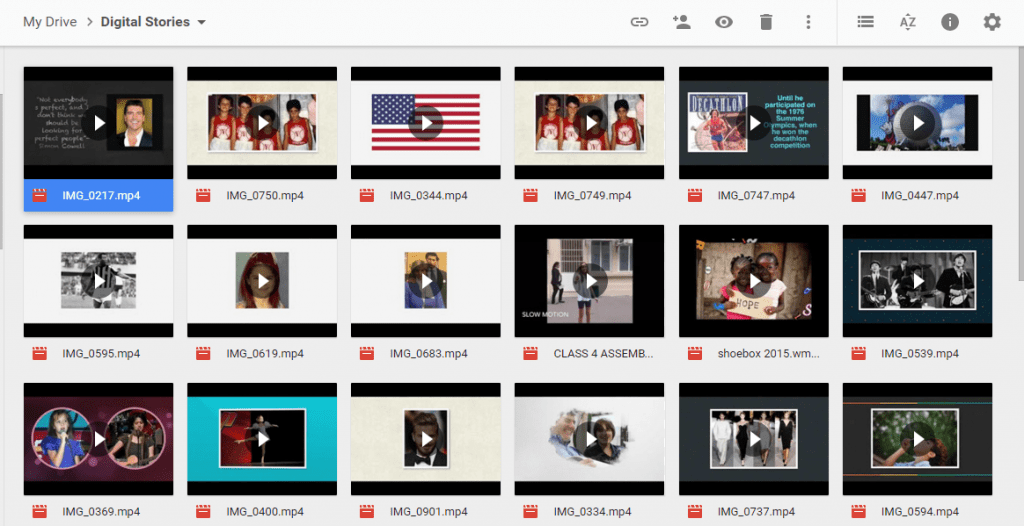
The teacher will be able to view all the student videos in the ‘Shared with me’ section of Google Drive. I recommend creating a folder called Digital Stories and copying all students’ videos into this folder.

